

Configure SSO with Okta in rConfig V8 Core
After reading this page, I can configure Okta as a single sign-on provider for rConfig V8 Core. This covers creating an OpenID Connect (OIDC) application in Okta, wiring its credentials into rConfig, and approving the first users so they can log in.
When to use this
Section titled “When to use this”Use this guide when your organisation manages identities in Okta and you want users to sign in to rConfig V8 Core with their Okta accounts instead of local rConfig passwords. If you use a different identity provider, see the SSO overview to find the matching guide.
Prerequisites
Section titled “Prerequisites”- Administrator access to the Okta Admin Console
- Administrator access to rConfig V8 Core
- rConfig reachable over HTTPS with a valid domain name (see SSL setup)
Configure Okta
Section titled “Configure Okta”Step 1: Create the app integration
Section titled “Step 1: Create the app integration”In the Okta Admin Console, navigate to Applications > Create App Integration.
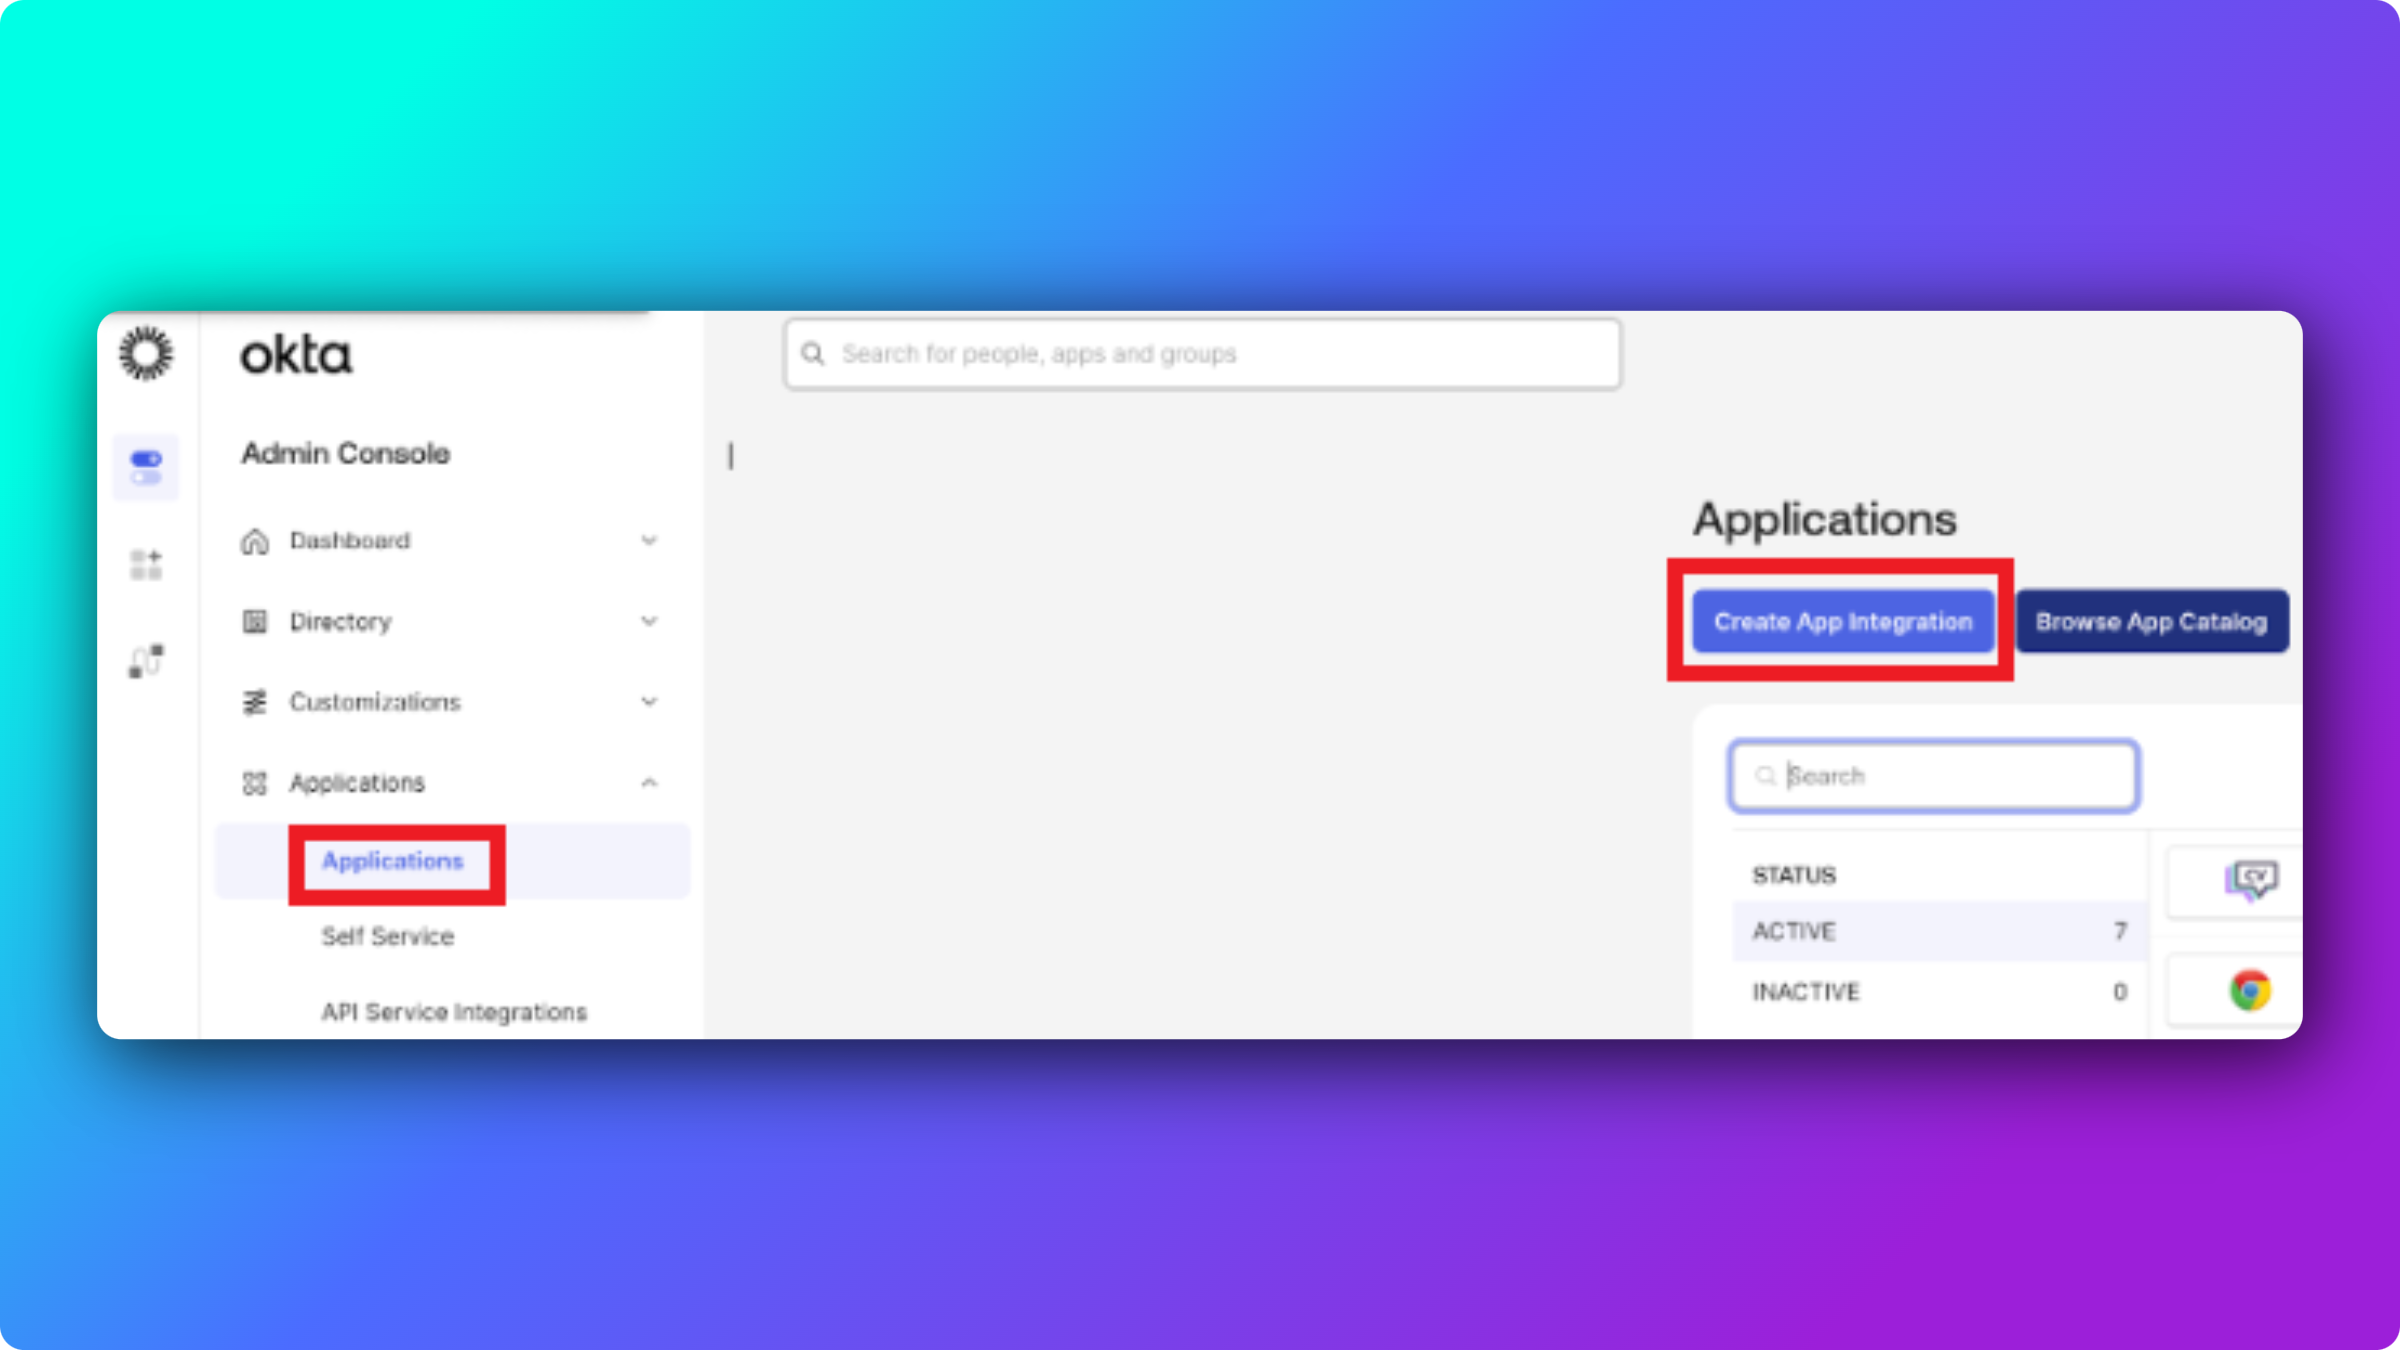
Step 2: Select the integration type
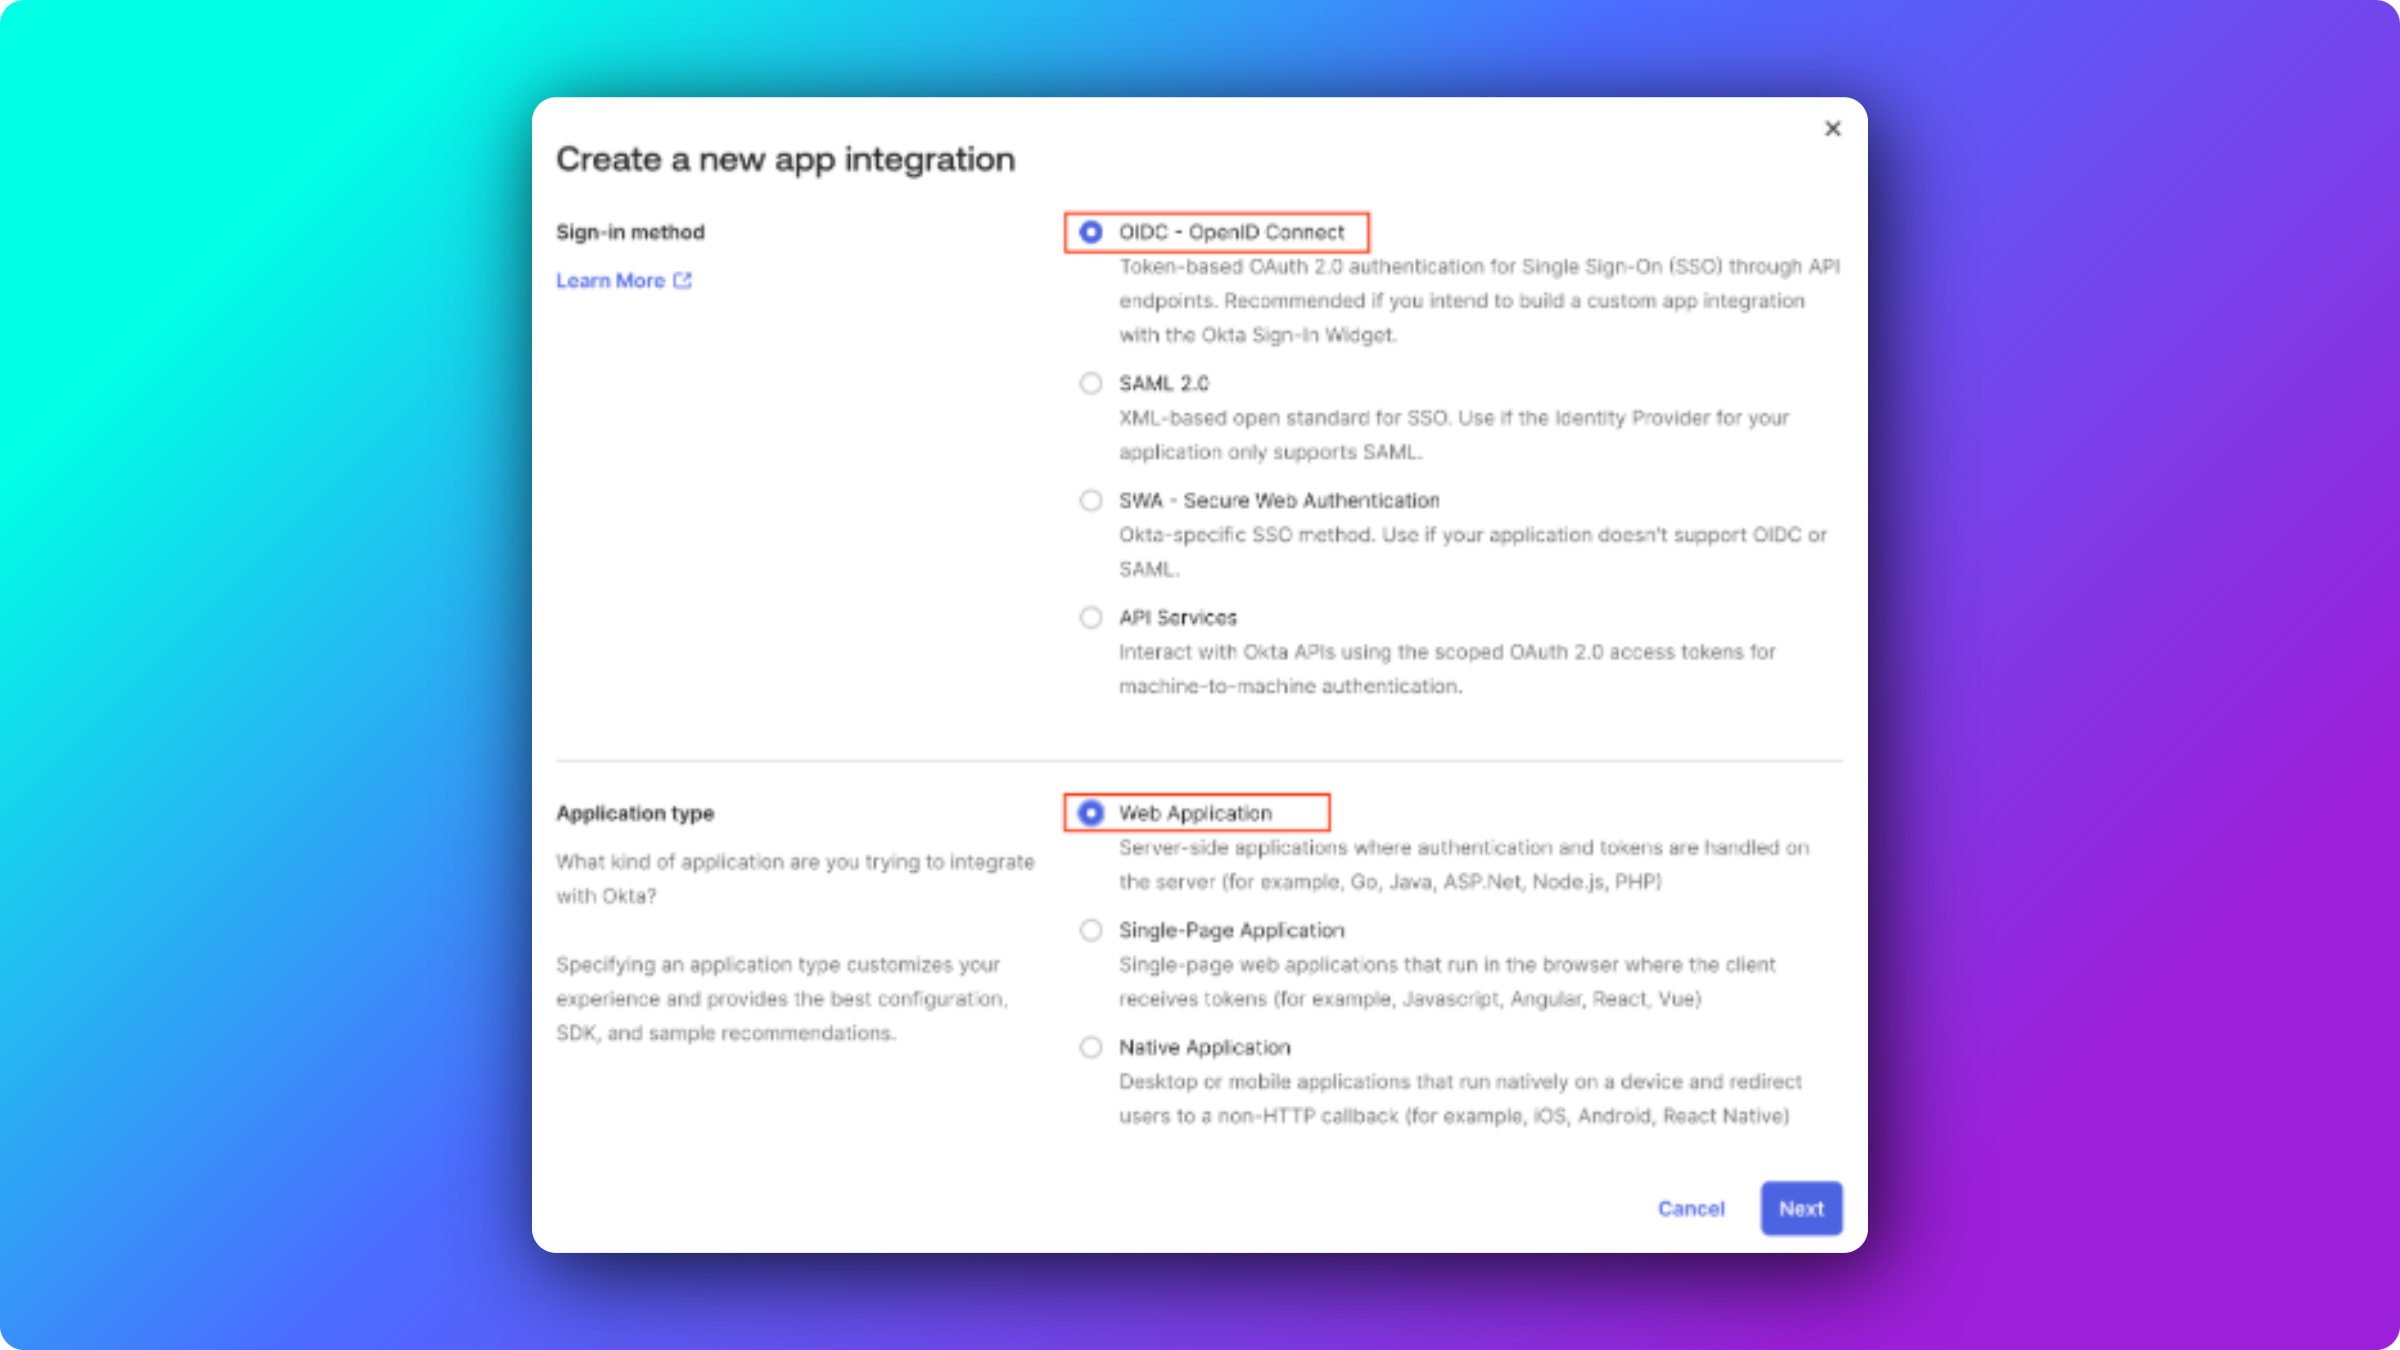
Section titled “Step 2: Select the integration type”When the wizard launches:
- Select OIDC - OpenID Connect as the sign-in method.
- Select Web Application as the application type.
- Click Next.
Step 3: Configure the application settings
Section titled “Step 3: Configure the application settings”Fill out the application configuration form.
General settings:
- App integration name: choose a descriptive name (for example “rConfig V8 Core”).
Grant type:
- Check Authorization Code.
- Check Refresh Token.
Sign-in redirect URIs:
https://your-rconfig-domain.com/auth/callback/oktaSign-out redirect URIs:
https://your-rconfig-domain.comAssignments:
- Choose Controlled access based on your organisation’s requirements.
- Select the appropriate user or group assignments.
Click Save to create the application.
Step 4: Assign users or groups
Section titled “Step 4: Assign users or groups”After the application is created:
- Navigate to the Assignments tab.
- Click Assign and select Assign to People or Assign to Groups.
- Assign the users or groups that should have access to rConfig via SSO.
- Click Done.
Step 5: Retrieve the configuration details
Section titled “Step 5: Retrieve the configuration details”From the application General tab, copy the following values:
- Client ID
- Client secret (click Show to reveal)
Step 6: Get the Okta base URL
Section titled “Step 6: Get the Okta base URL”- Navigate to Security > API > Authorization Servers.
- Locate the Issuer URI for the default authorization server.
- Copy only the hostname portion (for example
https://your-domain.okta.com). - Do not include
/oauth2/defaultin the base URL.
Configure rConfig V8 Core
Section titled “Configure rConfig V8 Core”Step 1: Edit the environment configuration
Section titled “Step 1: Edit the environment configuration”Open the rConfig .env file:
vim /var/www/html/rconfig/.envStep 2: Add the Okta SSO configuration
Section titled “Step 2: Add the Okta SSO configuration”Add or update the following lines with your Okta application values:
OKTA_BASE_URL=https://your-domain.okta.comOKTA_CLIENT_ID=your_client_idOKTA_CLIENT_SECRET=your_client_secretOKTA_REDIRECT_URI=https://your-rconfig-domain.com/auth/callback/oktaConfiguration parameters:
OKTA_BASE_URL: your Okta domain (hostname only, without/oauth2/default).OKTA_CLIENT_ID: the Client ID from the Okta application settings.OKTA_CLIENT_SECRET: the Client secret from the Okta application settings.OKTA_REDIRECT_URI: must match the sign-in redirect URI configured in Okta.
Step 3: Clear the application cache
Section titled “Step 3: Clear the application cache”Save the file and clear the rConfig cache:
php /var/www/html/rconfig/artisan rconfig:clear-allVerify the configuration
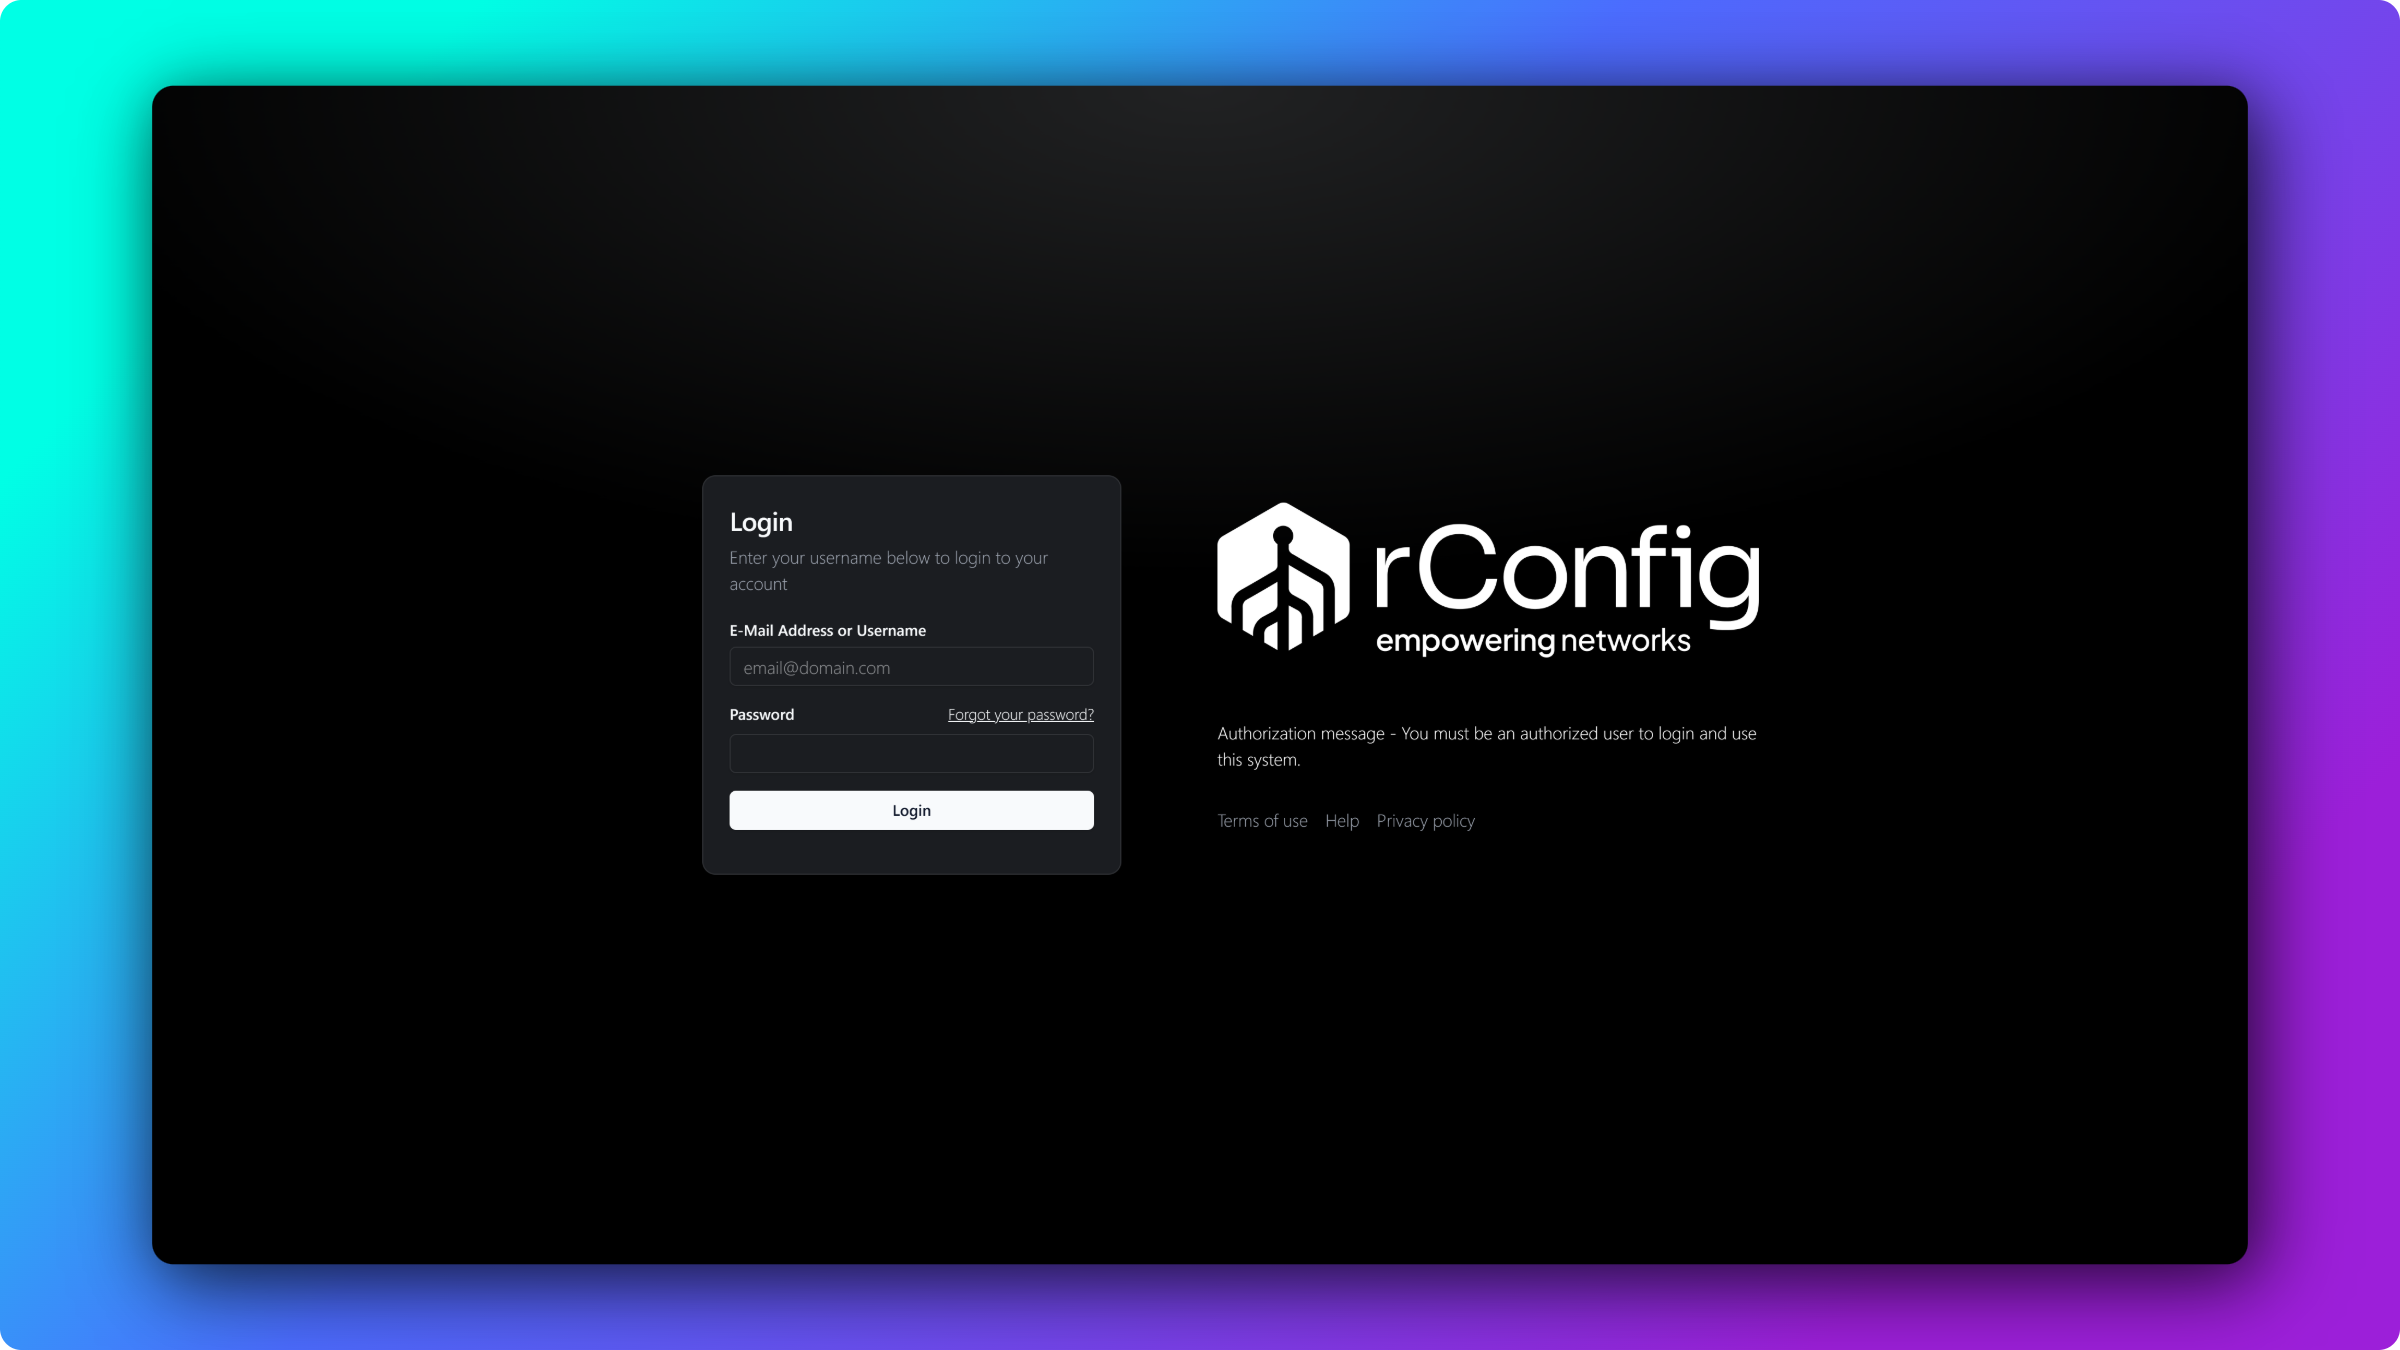
Section titled “Verify the configuration”After configuration, the rConfig login page displays a Sign in with Okta button.
Approve users for access
Section titled “Approve users for access”When a user signs in via SSO for the first time:
- The user authenticates successfully with Okta.
- An rConfig account is created with SSO access disabled.
- The user sees an error message indicating that approval is required.
An administrator must then:
- Log in to rConfig as an administrator.
- Navigate to the Users section.
- Locate the new SSO user.
- Enable SSO access for the user.
- Assign an appropriate role and permissions.
After approval, the user can authenticate and access rConfig.
Troubleshooting
Section titled “Troubleshooting”Why isn’t the SSO button appearing?
Section titled “Why isn’t the SSO button appearing?”- Verify all environment variables are correctly set.
- Ensure the cache has been cleared:
php artisan rconfig:clear-all. - Check the Apache error logs for configuration issues.
Why does authentication fail?
Section titled “Why does authentication fail?”- Verify the redirect URI matches exactly between Okta and rConfig.
- Confirm the Okta base URL does not include
/oauth2/default. - Check that the application is assigned to the user in Okta.
- Ensure the client secret has not been regenerated in Okta.
Why does Okta return “Access denied”?
Section titled “Why does Okta return “Access denied”?”- Verify the user or group is assigned to the application in Okta.
- Check that the application is active (not disabled).
- Confirm the authorization server is active.
Why does an “Invalid redirect URI” error appear?
Section titled “Why does an “Invalid redirect URI” error appear?”- Verify the sign-in redirect URI in Okta matches
OKTA_REDIRECT_URIin rConfig exactly. - Ensure there are no trailing slashes or typos.
- Check that HTTPS is used, not HTTP.
Why can’t users access rConfig after SSO login?
Section titled “Why can’t users access rConfig after SSO login?”- Verify an administrator has enabled SSO access in the Users section.
- Confirm the user has been assigned an appropriate role.
- Check that the user account status is active.
What’s next
Section titled “What’s next”- SSO overview - how single sign-on works across rConfig V8 Core.
- User management - approving SSO users and assigning roles and permissions.
- SSL setup - securing rConfig with HTTPS, required for SSO.