

Set up Google SSO in rConfig V8 Core
After reading this page, I can configure Single Sign-On for rConfig V8 Core using Google Workspace. This covers creating an OAuth 2.0 client in Google Cloud Console, adding the credentials to rConfig, and approving the first SSO user so they can sign in.
When to use this
Section titled “When to use this”Use this page when your organisation authenticates with Google Workspace and you want users to sign in to rConfig with their Google accounts instead of separate local passwords. It suits teams that have standardised on Google as their identity provider and want centralised account control.
Prerequisites
Section titled “Prerequisites”- Administrator access to the Google Cloud Console and Google Workspace Admin Console
- Administrator access to rConfig V8 Core
- rConfig reachable over HTTPS with a valid domain name (see SSL setup)
- Shell access to the rConfig server to edit the
.envfile
Create the Google OAuth credentials
Section titled “Create the Google OAuth credentials”Step 1: Open the Google Cloud Console
Section titled “Step 1: Open the Google Cloud Console”Sign in to the Google Cloud Console with an administrator account and select the project that will own the rConfig OAuth client.
Step 2: Configure the OAuth consent screen
Section titled “Step 2: Configure the OAuth consent screen”- Navigate to APIs & Services > OAuth consent screen.
- Select Internal or External based on your organisation’s requirements.
- Enter the required application information.
- Add authorised domains if needed.
- Save the configuration.
Step 3: Create the OAuth 2.0 client ID
Section titled “Step 3: Create the OAuth 2.0 client ID”- Navigate to APIs & Services > Credentials.
- Click Create Credentials > OAuth client ID.
- Select Web application as the application type.
- Enter a name for the OAuth client, for example
rConfig V8 Core. - Under Authorised redirect URIs, add your callback URL:
https://your-rconfig-domain.com/auth/callback/google
- Click Create.
- Copy the Client ID and Client Secret. You need both for the rConfig configuration.
Configure rConfig V8 Core
Section titled “Configure rConfig V8 Core”Step 4: Edit the environment file
Section titled “Step 4: Edit the environment file”Open the rConfig .env file:
vim /var/www/html/rconfig/.envStep 5: Add the Google SSO values
Section titled “Step 5: Add the Google SSO values”Add or update these lines with the values copied from Google Cloud Console:
GOOGLE_CLIENT_ID=your_client_idGOOGLE_CLIENT_SECRET=your_client_secretGOOGLE_REDIRECT_URI=https://your-rconfig-domain.com/auth/callback/googleGOOGLE_CLIENT_ID: OAuth 2.0 Client ID from Google Cloud Console.GOOGLE_CLIENT_SECRET: OAuth 2.0 Client Secret from Google Cloud Console.GOOGLE_REDIRECT_URI: Must match the authorised redirect URI configured in Google exactly.
Step 6: Clear the application cache
Section titled “Step 6: Clear the application cache”Save the file and clear the rConfig cache so the new values take effect:
php /var/www/html/rconfig/artisan rconfig:clear-allStep 7: Verify the login page
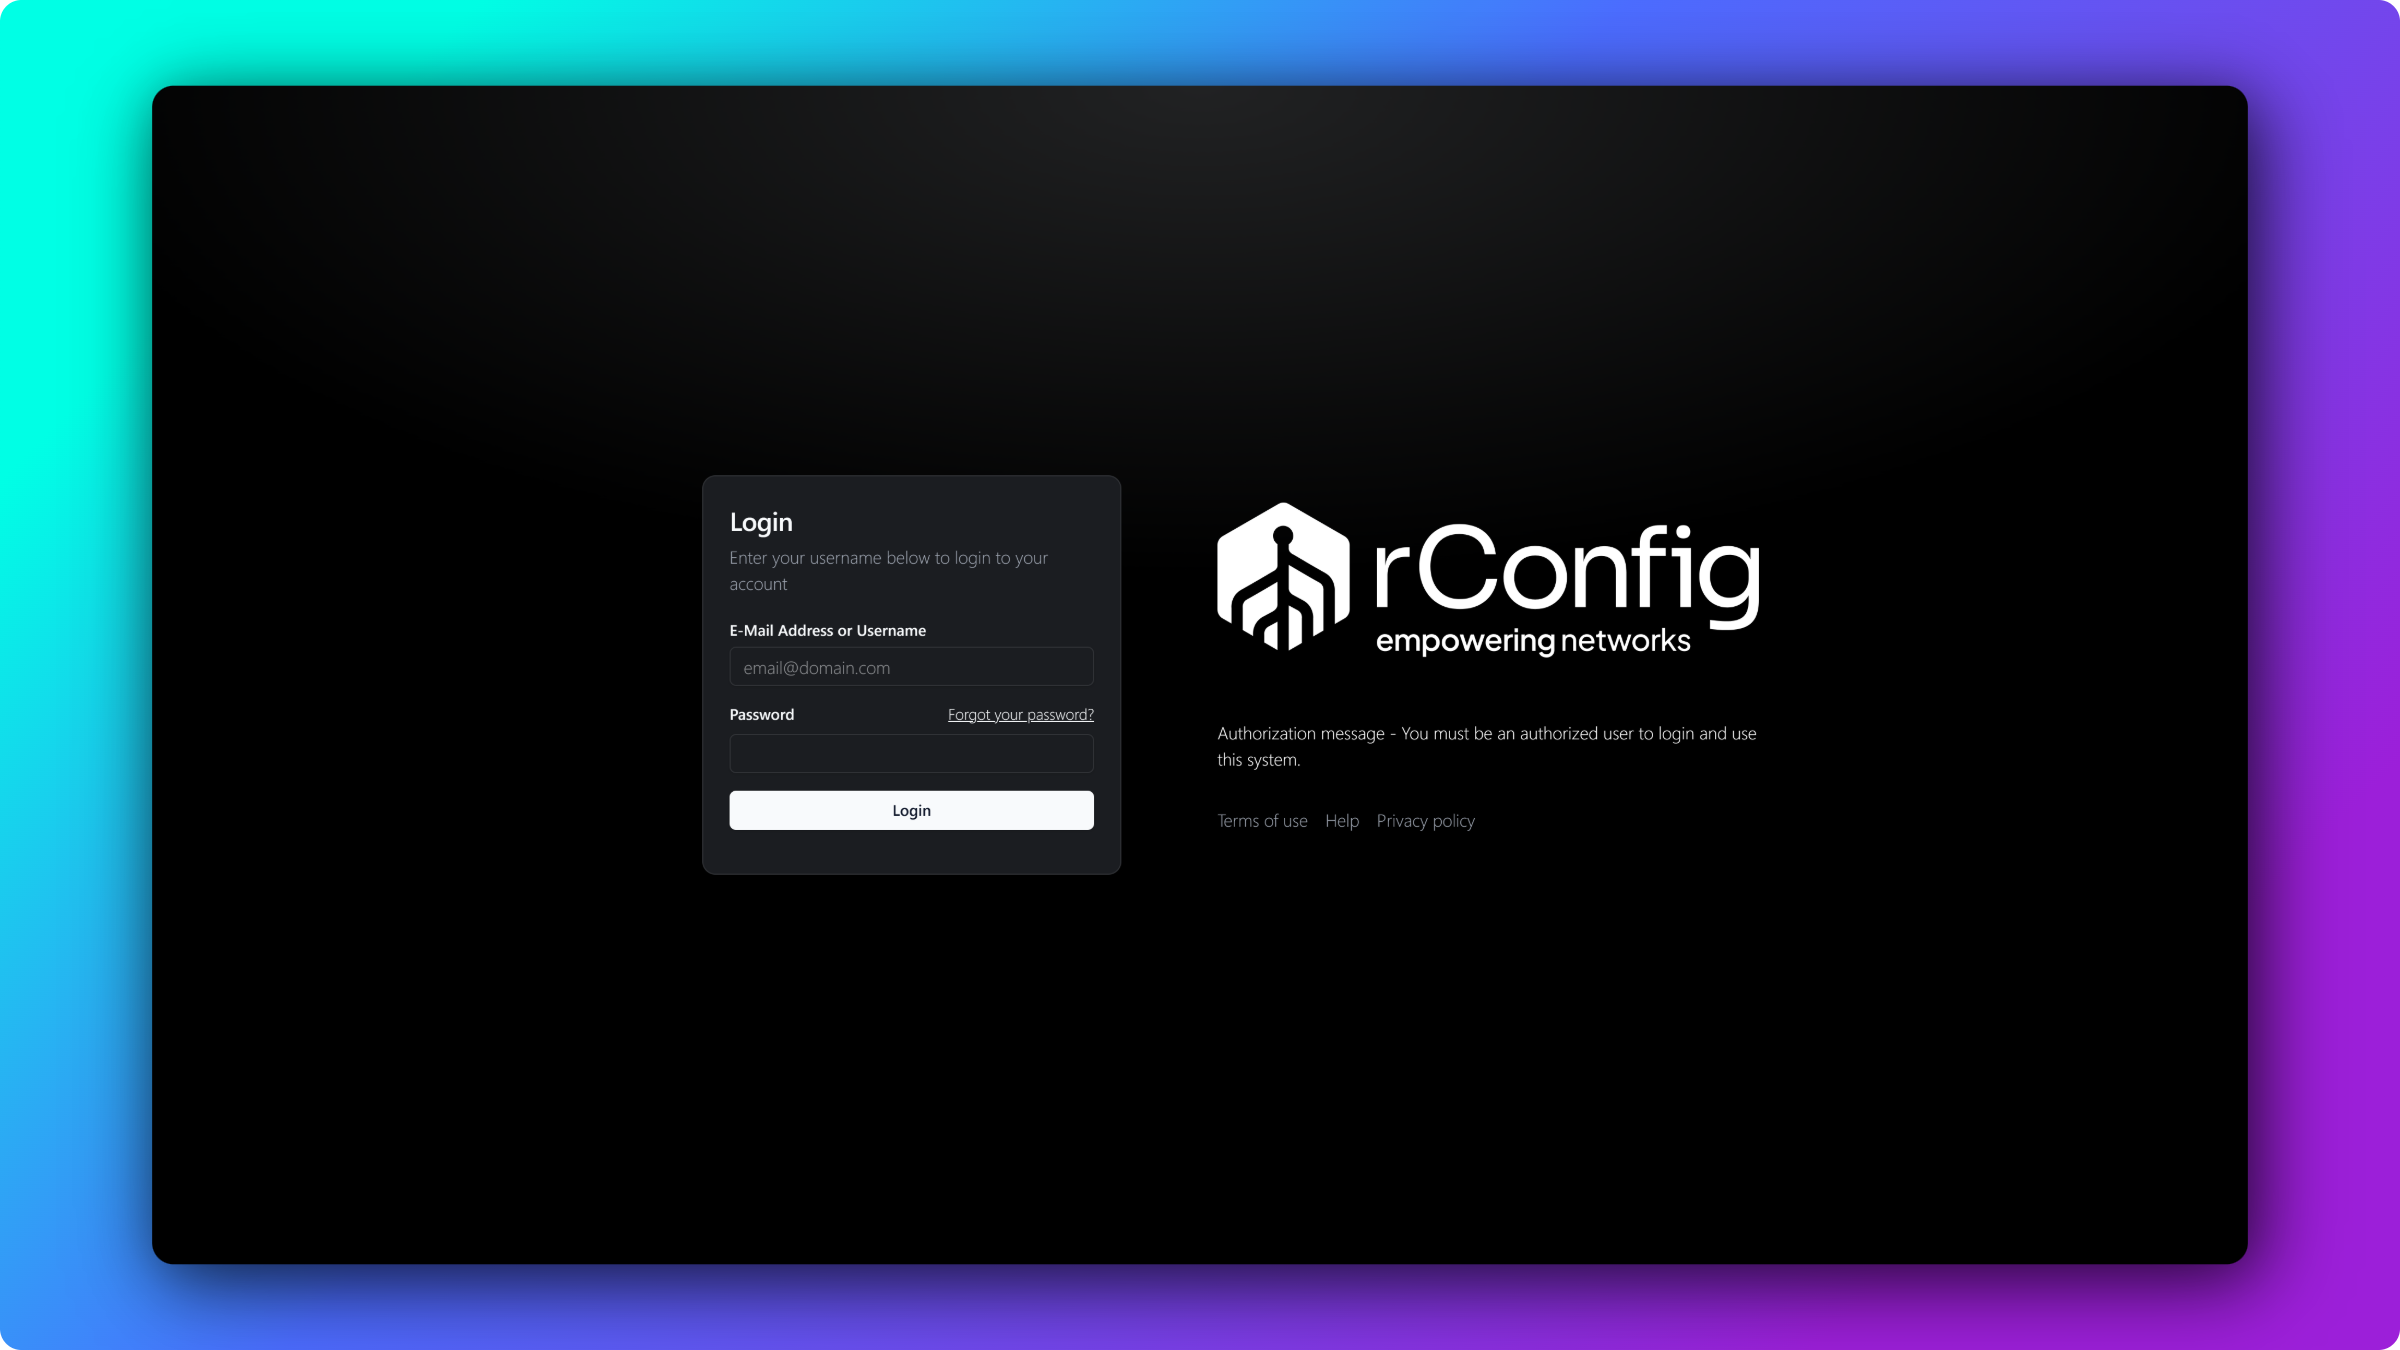
Section titled “Step 7: Verify the login page”Reload the rConfig login page. A Sign in with Google button now appears below the standard username and password fields.
Approve the first SSO user
Section titled “Approve the first SSO user”When a user signs in via Google for the first time:
- The user authenticates successfully with Google.
- rConfig creates the account with SSO access disabled.
- The user sees a message that approval is required.
An administrator then completes the approval:
- Log in to rConfig as an administrator.
- Navigate to the Users section.
- Locate the new SSO user.
- Enable SSO access for that user.
- Assign an appropriate role and permissions.
After approval, the user can authenticate with Google and access rConfig.
Why isn’t the Sign in with Google button appearing?
Section titled “Why isn’t the Sign in with Google button appearing?”- Confirm all three environment variables are set correctly in
.env. - Confirm the cache was cleared with
php /var/www/html/rconfig/artisan rconfig:clear-all. - Check the Apache error logs for configuration issues.
If authentication starts but fails, verify the redirect URI matches exactly between Google and rConfig, confirm the OAuth consent screen is configured, and check that the OAuth client is not restricted or disabled.
What’s next
Section titled “What’s next”- SSO Overview explains how Single Sign-On works across rConfig V8 Core.
- Manage users and approvals covers enabling SSO access and assigning roles.
- Configure Microsoft SSO sets up Single Sign-On with Microsoft Entra ID instead.